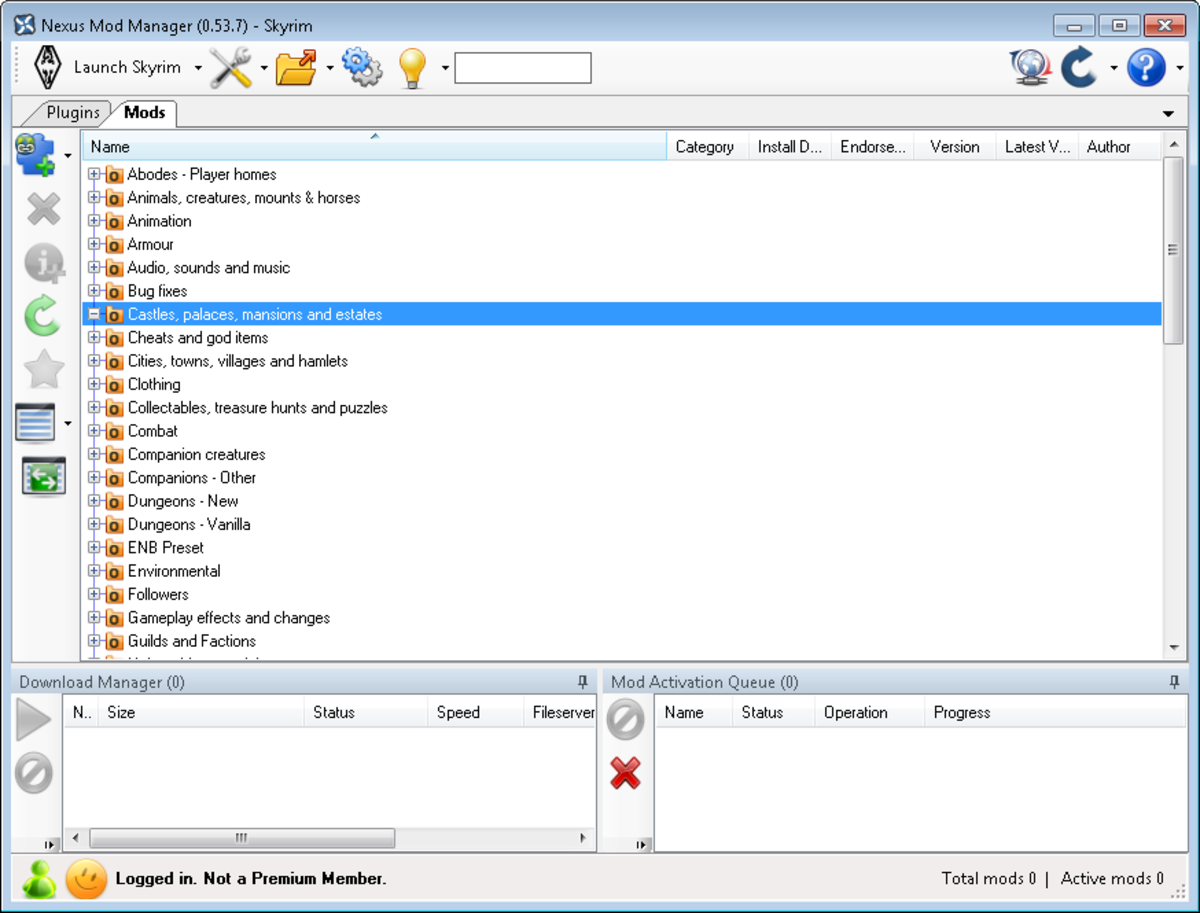
Mod Organizer How To Update Mods
To check out this queue, simply navigate to the bottom of the Nexus Mod Manager screen, where you’ll find a “download manager” tab. Click that, and the window will expand to show your queued mod downloads and their download progression. This is a great thing to check on if you’re downloading a load of small mods amid a few massive ones. Nov 12, 2013 I am working on a plugin for Mod Organizer that allows people to download mods strait from LoversLab using MO. Its the same exact concept as the search nexus for more mods option that comes with MO. I want to search loverslab for more mods.
Sims 4 Mod Manager
If your mod manager window does not show up on screen after running, please refer to “Bug Workaround” near the bottom of the page.
NOTICE: Get support and submit bugs/errors by clicking here.
For updates in development progression, click here.
Description
The Sims 4 Mod Manager is a program designed to make management of mods easier.
Features
• Drag and drop (supports more than one drop)
• Auto-installs mods from their archives (Zip, RAR, or 7Zip). See “Adding Mods” below.
• Does not make use of the Resource.cfg – Mods are backed up to a folder, and are copied to the “Mods” folder when enabled.
• Enable multiple mods at once
• Disable multiple mods at once
• Shows mod type – “Package” if it is a “.package” file, and “Script” if it is a “.zip” file. Also shows icons for both types.
• Supports sub-folder categorization (only supports 1 level)
Version Change Log
2.2.0:
• Added support for 7zip archives.
• Changed to use 7zip libraries for extraction of all supported archive formats.
• Download now comes in the form of an installer.
• Any zip archives contained within an archive will be extracted and discerned as a script mod.
• Small internal chages/optimizations.
2.1.0:
• Mod manager now auto-installs mods from their archives (.rar or .zip). Scroll down for more info.
• Fixed issues with French computers.
• Small internal changes
2.0.1: (Optional Patch)
• Fixed configuration related startup error
2.0.0:
• Re-coded and re-built from the ground up.
• Implemented re-sizing of window, and saving position of the window on screen.
• Added “New Tab” containing various features that will open in different tabs
• Added icons to mod types in the mod manager tab.
• Added tool tip showing file information for individual mod items in the mod manager tab.
• Added option to add a category in the mod manager tab.
• Added option to remove a category in the mod manager tab.
• Added ability to rename mods without renaming the files themselves.
• Added a settings tab.
• Added a screenshot viewer tab.
• Added a Resource.cfg file editor tab.
• Added log file for error reporting.
• Removed “Available Mods” idea.
• Changes to UI.
1.3.1:
• Fixed error upon removing a mod that is in a sub-folder
• Fixed error upon removing every mod on the list
• Fixed mod counter issue
1.3.0:
• Small changes to UI
• Added item grouping. – Groups are folders, with items under them as mods.
• Tweaked how mods are added to adapt to how mods are now displayed.
• Tweaked some other parts of code to adapt to how mods are now displayed.
• The “About” tab is now no longer permanent and can be opened by pressing the gear icon.
• Added “TS4MM Folder” to context menu – Opens “Mods” folder for TS4MM.
• Added/Changed “Official Folder” to context menu – Opens “Mods” folder for the game.
1.2.1:
• Small internal changes
• Added “Open Mods Folder” to context menu
1.2.0:
• Fixed startup error – TS4MM will auto-detect the Mods folder no matter what language you’re using
• Added manual Mods folder selection if auto-detection fails
• Mods folder path is saved in “config.ini” within TS4MM’s documents folder
• Fixed drag & drop problems
• Can now add multiple mods in an instance
• Added an update notifier
• TS4MM can now detect mods in sub-folders – the limit of detection is 1 sub-folder in the Mods folder
• Resized tabs to conserve space
1.1.0:
• Added context menu to mod list
• Added donate button
• Minor changes in code
1.0.0:
• Release
Adding Mods
With previous versions, installing package mods required you to first extract the “.package” files somewhere, and then add them with the manager.
In the current version of TS4MM, that step is removed. If the package mod or mods that you have downloaded are contained in a “.zip”, “.rar”, or “.7z” archive, you can simply drag them in to the manager, or add them with the button, and the manager will automatically extract any “.package” files in the archive into your Mods folder.
You do not have to worry about whether or not the mod you download is a script mod. The manager will discern the difference by looking at the contents of the archive, and if it is a script mod, it will copy it to your Mods folder.
Hotkeys
Applies only to the mod manager tab.
Unzip and extract anywhere, then double-click “TS4MM_-Setup.exe” and follow the steps for installation. After it’s installed, simply double-click the icon on your desktop named “TS4 Mod Manager”.
Requires .NET Framework 4 or higher.
Virus Total Scan
Bug Workaround
First workaround found by marvinpunz:
- Press Ctrl + Alt + Delete
- Choose Task Manager
- Right-click on The Sims 4 Mod Manager
- Click Expand
- Right-click the newly expanded item
- Click Bring to front
- Click Maximize
Second workaround found by sim508:
- Make sure The Sims 4 Mod Manager is closed
- Go to %USERPROFILE%DocumentsTS4 Mod Manager
- Open the file config.ini
- Change location to match the following:
- Code: [window] location = 0, 0
- Save and try opening The Sims 4 Mod Manager again
Third workaround found by rpastorcale:
- Hover over the icon for The Sims 4 Mod Manager
- Wait for the preview to show
- Right-click on the preview and click Maximize
To prevent this bug
The best way to prevent this bug from happening is to not close TS4MM while it is minimized.
This bug happens because I made it so that the location of the window on your screen would be saved to a configuration file, so that when you open TS4MM again, it would be in the same place you last opened it.
What I should have done in the first place, is make it so that it would not save it’s location while minimized.
I apologize for my mistake. This will be fixed in the next update.
Additional Credits:
Thrahistan – For creating the first mod manager, and the inspiration for this one.
Basic Download and Install Instructions:
- Download: Click the download link to save the .rar or .zip file(s) to your computer.
- Extract: Use 7zip (recommended), WinRAR (Windows) or Stuffit (OS X) to extract the file(s) from the .rar or .zip file(s). OS X also has a built-in utility for that (just rightclick).
- Simply open the zip file, then drag and drop the .exe file to your desktop, or where ever you prefer to run it from.
Everything is simple. You must to make a decision to download Sims 4 Mod Manager tool. Sims 4 Mod Manager is a program for everyone, who wants play this game without interruption.
The program allows you to manage and control mods of Sims 4. So, if you are looking for decision, how to manage mods of this game, you must decided to choose Sims 4 Mod Manager download.
And while everyone is looking for the Sims 4 Mod Manager free, we want to say one more thing: don’t forget to share comments about this program. We hope, that modding will be fine.
Use The Code ZombieTo Grab A 10% Discount On All DayZ Standalone ServersHere
In this guide we will be covering the process of installing and updating mods on your DayZ Standalone server using our newly updated Steam Workshop installer.
Steam Workshop Buttons
Na hrvatskom jeziku. This feature is not available right now. Please try again later. CRTANI ONLINE CRTANI FILM CRTACI TV CRTANI ZA DECU CRTANI FILMOVI NA SRPSKOM SINHRONIZOVANI CRTANI CRTANI TV SINHRONIZOVANI CRTANI FILMOVI SPAJDERMEN CRTANI BARBI CRTANI DUGOMETRAZNI CRTANI CRTANI ZA BEBE. Watch fullscreen. Crtani Dusko Dugousko Na Srpskom Jeziku Dusko Dugousko 2015 - Dusko Dugousko Na. Crtani Na Hrvatskom Grom; Crtani Na Hrvatskom Dugometrazni; Wowkeyword.com is a free SEO tool that provides users with a huge data associated with the keyword ' Crtani Barbi Biserna Princeza', such as related keywords, popular keywords and image resources. Besides, it also shows the global search volume, CPC and the competition for each keyword. This feature is not available right now. Please try again later. CRTANI NA SRPSKOM RATNIK KISNA KAP NON STOP 2 sata!!! Zli patuljak Simsalla Grimm na Srpskom jeziku - Duration: 24:44. Dugometrazni crtani na hrvatskom jeziku.
In your gamepanel you will see three buttons, SteamWorkshop, Steam Workshop (installed) and Steam Workshop (updates). Each of these buttons allow you to have full control over the mods installed on your server, in the next section we will cover what each of these buttons do.
Steam Workshop
Install new mods to your server. Gives you the ability to sort results by popularity over a time period, filter by content type in addition to a search box.
Steam Workshop (installed)
Shows you the mods you have installed on your server. Mods can also be uninstalled from within this window.
Steam Workshop (updates)
Update your installed mods. Allows you to update all your installed mods with the click of a button. This can also be configured to be automatically executed which we will cover at the end of this guide.

Adding Mods to your Server
With the addition of our new and improved Steam Workshop installers, adding mods to your server is as easy as ever. To help you get started we will walk you through all of the steps needed to get mods installed and enabled on your server.
- In your game panel, press the Steam Workshop button. A new window will appear where you can begin searching for a mod you would like to install on your server. In this example we are going to be sorting by the most popular mods of all time and installing the WeaponReduxPack. To install a mod, you will just need to press the green Install button.
A new window will appear displaying the status of the installation process, once this is complete it will automatically close and return you back to the Steam Workshop page. - Now we’ve got our first mod installed, we need to enable it on our server. We can do this by heading into the CommandlineManager. In here you will see a list of predefined commandlines, if you’re not using DZSA Launcher go ahead and select the Mods commandline.
- A new textbox will appear that says “Mods” next to it, this is where you will need to insert your mod IDs. Mod IDs have to be inserted in a specific format, especially if you have multiple. Here’s an example of how things should be formatted if you have multiple mods…
@12345XXXX;@54321XXXX;@67890XXXX;@09876XXXX
For now we’ve just got the one mod installed so ours will look like this…
By default, the name of the mod will always be the same as its SteamID. You can double check the name of your installed mods by going into the File Manager and looking for the folders that start with @ - these will be at the top of the page. - Go ahead and save your changes by pressing the blue Apply button, we’ve now got our mod installed and enabled.
Note that keys are now automatically managed by the installer, you no longer need to do this manually. If a mod is installed the key will be copied over and if it’s uninstalled it will be removed.
We can now startup the server – if everything went well your installed mod(s) should be now active. If you experience any errors, please refer to the common errors below…
Common Errors
PID 0 (next to server status)
This indicates that there is a startup error, quite often this is caused by mods, more specifically the server commandline has a mod included that it cannot find in your server files. Ensure that all of the mods in your commandline exist in your files.
Mod Mismatch (when joining server)
This error indicates that the files on the client are not the same as the server. To avoid this error, ensure that you are launching the game through the launcher and have selected all of the mods your server is using. Sometimes the error message can give you a hint as to what mod in particular is causing problems.
Updating Your Mods (Manual & Automatic)
In this section we will be covering the process of updating your installed mods through the use of our Steam Workshop tool. Both manual and automatic methods will be covered.
Manual Updates
- In your game panel, click on the Steam Workshop (updates) button.
- This will redirect you to a new window where you will see the following buttons.
- The button we will want to press is the Update All button. This will go ahead and check if any of your installed mods have an update available, if they do it will then proceed to download the files.
Automatic Updates
In order to allow for automated updates, we will need to create a scheduled task. This requires a few options to be configured beforehand, below you can find the steps on how to do this alongside our recommended settings.
- In your game panel, at the top of the page you should see a button that says Scheduled Tasks, click on that.
- A new window will be displayed where you can see any existing tasks you have setup or create a new one, in this case we would like to create a new one so go ahead and press the New button.
- A dropdown menu will appear where we can select what type of task we would like to create, we're trying to update our mods so go ahead and select the Workshop Update task and then press the blue New button.
- Now we need to configure our task. A few different areas will need to be setup, this can be tailored more specifically to suit your requirements however here's what we would recommend.
- Name: Check for updates
- Type: Daily
- Start: Set this to one day ahead and a time that's best for you. If you cannot select a time make sure the date is one day ahead.
- RecurEvery: 1 Day
This is how our task looks so far.
At this point you can go ahead and save your newly configured task. This will now check for updates every day at the time you have configured. If you would like this task to be ran multiple times a day, please continue to the next step. - In order to have this task executed multiple times a day we will need to perform a few extra steps to get things configured. Firstly, go ahead and check the Repeat Task checkbox. For the newly displayed options, we would recommend the following settings.
- Repeat Every: 30 Minutes
- For: 24 Hours
This is how our task looks up to this point.
If you're happy with everything, go ahead and press Save. Your task is now all setup and will be executed for the first time at the time you have configured.
Looking for a game server host known for brilliant 24/7 customer support and quality hardware?
Try a Pingperfect DayZ Standalone server today!